Friday, December 21, 2012

White Russian Cupcakes

I'd had a request from the husband and a friend, to make another boozy cupcake - White Russian Cupcakes.  Okay, done!


 I was surprised to find that there weren't a ton of recipes out there for them, but this one is very good.  If I had to change one thing with this recipe, it would be tweaking the frosting.  It's good, don't get me wrong, but it's a tad sweet for me.  In light of that, I didn't 'pile high' the frosting as I might with other cupcakes I've made in the past.  However, no one complained!


Those who know me know that I'm not a huge coffee fan, so this flavor profile isn't exactly up my alley.  However, I'm always happy to expand my boozy recipe repertoire!


Those who read this blog with any frequency (thank you, seriously, all 3 of you!) know that I utilize Ziploc bags for piping all the time.  Seriously, I should get a sponsorship.  Anyway, the husband saw how I fill the bags and suggested that I share it, in case any of you struggled with a droopy, messy bag-filling experience.  Simply put the bag on the inside of a standard Pyrex measuring cup (or something similar) and it's super easy to fill.  It's also helpful for avoiding annoying air bubbles that create frosting flatulence, although humorous, disrupt the perfect piping experience.


I know chocolate isn't part of the White Russian flavor profile, but are you complaining about authenticity if chocolate is present?  I thought not.
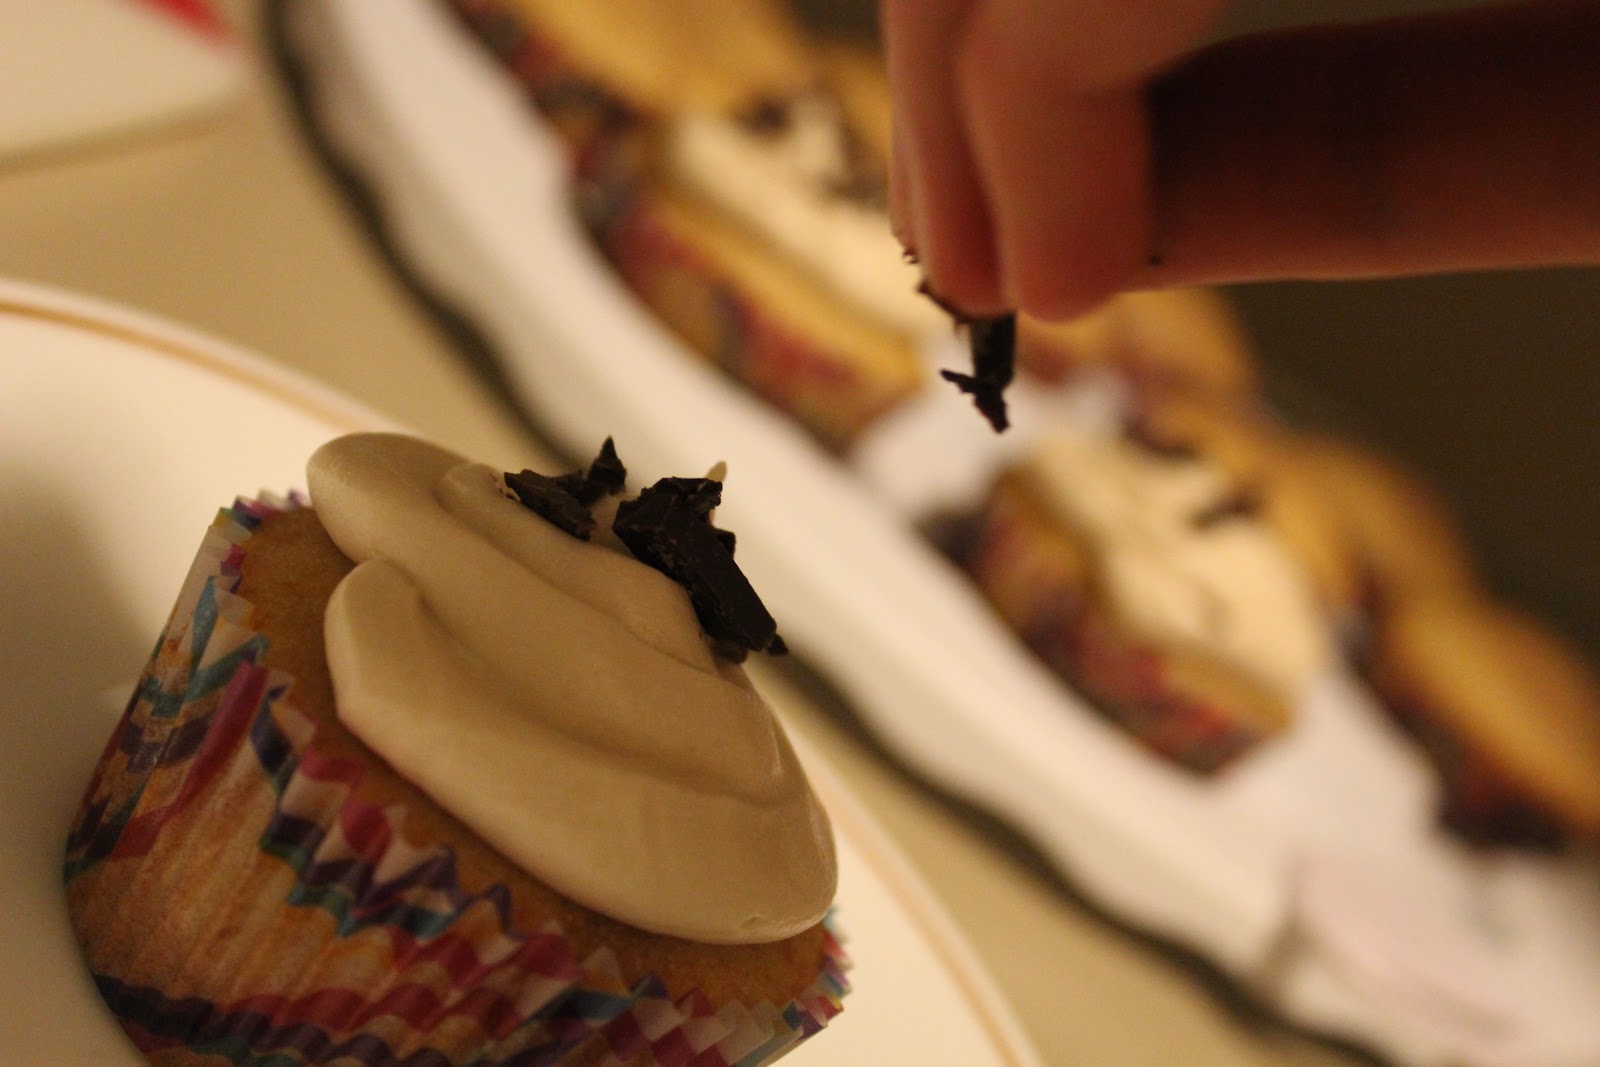

The simple flavors of White Russians (vodka, Kahlua, and cream) transform into cupcake form really well. This recipe incorporates all three staple ingredients to give it an authentic flavoring. While I'm not a fan of the movie that made White Russians popular, The Dude would approve.


White Russian Cupcakes
(from Baked Perfection)

makes 12 cupcakes

1 1/4 cups all purpose flour
1 1/2 teaspoon baking powder
1/4 teaspoon salt
3/4 cup sugar
6 tablespoons butter, softened
1 large egg and 1 egg white
1 teaspoon vanilla extract
1/2 cup milk
1/8 cup Vodka
1/8 cup Kahlua, with 1 additional tablespoon, set aside
 
Preheat oven to 350 degrees Fahrenheit. Line a cupcake pan with paper liners.

In a large bowl, mix together the flour, baking powder, and salt. Set aside. In a separate bowl or in a stand mixer, beat together the sugar and butter until combined. Add egg and egg white, one at a time. Then add the vanilla, Vodka, and 1/8 cup of Kahlua. Gradually add the flour mixture in three additions, alternating with the milk in two additions, ending with the flour mixture.

Bake 17 -20 minutes, or until a toothpick inserted in the middle of a cupcakes comes out clean. While the cupcakes are still warm, brush the tops with the remaining Kahlua. Remove from pan and cool completely on a wire rack before frosting. 
 
Kahlua Buttercream

1 stick of butter, softened
3 cups powdered sugar
pinch of salt
3 tablespoons Kahlua
1 tablespoon milk (or more, for your preferred texture)
1 oz. chocolate, minced, for topping

Beat butter until creamy. Add salt. Add powdered sugar 1 cup at a time, beating until combined. Add Kahlua 1 tablespoon at a time and milk until you reach desired consistency.
 
Use bag to pipe on cupcakes, and top with minced chocolate.
 
Enjoy!


Monday, December 17, 2012

Sweet Potato Marshmallows

This time of year means lots of holiday parties, which gives me many opportunities to bake and cook to my heart's content.  Last year, at our neighbor's party I brought Oatmeal Stout Marshmallows, which were quite a hit.  This year, a different spin - sweet potato marshmallows.


Now, I can't take the credit for coming up with the flavor.  That would be my friend, Chut, who incidentally, taught me how to make marshmallows in the first place.  However, it's definitely a favorite of mine.


A holiday flavor, reminiscent of sweet potato casserole, of course.  But this is a delicate, velvety treat without any of the trouble of a goopy casserole.  If you're not necessarily a fan of eating the marshmallows straight, it works well in hot chocolate (it actually was really good, despite what you might think of the flavor).


I also tried something new for the 'shapes' of the marshmallows.  Typically I'd spread them in a prepared, shallow pan and then cut them with a pizza cutter.  It works fine, and is definitely a 'rustic' look.  This time, I put the marshmallow in a Ziploc bag, cut off a corner, and piped a few rows of it so I'd just have to 'slice' them instead of cutting out squares.  It made for more uniform marshmallows and was quite a bit easier and an easy cleanup.  The perfection of technique continues!


The recipe below is actually a halved recipe of the original.  But unless you have an army to feed, I'd stick with the smaller amount, as a little goes a long way with these treats.

Sweet Potato Marshmallows
(Chut's recipe)

Cold mixture:
1/4 cup water
1 packet of gelatin
Pour water in stand mixer bowl, and sprinkle the packet of gelatin on top and let sit while you work on the syrup.

Flavoring:
1/4 cup, rounded, of sweet potato puree (I used canned, unsweetened puree, but if you were ambitious, I'm sure you could make your own)
1/4 tsp cinnamon (or to taste)
Pinch nutmeg

Syrup:
3/4 cup granulated white sugar
1/4 cup light corn syrup
1/4 cup hot water
Combine into saucepan over medium-high heat.  Cook until it reaches 240 degrees (soft-ball stage).  It took roughly 10 minutes on medium-high heat.  Remove from heat and pour slowly into stand mixer, with whisk attachment, and whip at high speed until it's opaque,  no longer runny, and at least doubled in volume, and is much stiffer, about 10-15 minutes.  In the beginning of the whipping of this, add the sweet potato puree and spices.

While it's whipping, put parchment paper on a cookie sheet, and lightly spray with cooking spray, and lightly sprinkle cornstarch on it.  After marshmallow is done whipping, scoop into large Ziploc bag and cut off corner.  Pipe straight rows (it was about 4 of them for me), and sprinkle cornstarch over it and let sit for at least and hour or two to completely set.

A pizza cutter works GREAT to cut the mallows, and coat all sides of mallows with cornstarch to keep from sticking all over everything.

Enjoy!

Sunday, December 16, 2012

Mom's Lasagna

Ah, December in the Pacific Northwest.  The sky is dreary, gray, and leaking precipitation... and will be for the next seven months.  Ugh.  Enter the desire for some comfort food - lasagna.  It was a favorite of mine growing up (I requested it frequently when I came home to visit from college), and still is a favorite.  Discussing lasagna recipes with folks can get a bit heated as everyone I know always has the same line, "my mom's is the best."


And, of course, I think MY mom's is the best.  I certainly haven't had one at a restaurant I liked as much.  Perhaps it's just one of those things that is just better homemade.  It takes a bit of time, and it's great fun to assemble.  Anticipation grows at is bakes. And then you have to wait for it to cool a bit so you don't burn off the roof of your mouth.  Delayed gratification at its best.


Also, plenty of time for you (and any sous chefs present) to polish off your favorite bottle of red wine, and enjoy hanging out.  That's happened...on more than one occasion for me, could you have guessed?  0:-)

I finally got the recipe from my mom a few years ago, but prior to that I would request it for dinner anytime I was home.  I distinctly remember one time that she was in the middle of making it when she realized she had no noodles.  So my dad dutifully went off to the store to get some.  Upon his return, she started to assemble and realized that she had forgotten the ricotta cheese.  So it was my turn to go off to the store.  Thankfully she didn't forget anything else, but it was pretty funny that she forgot some very key ingredients.  (She's going to kill me for telling that story...)


While I was making it this time, the husband was commenting on the order of layering, and for that I gave him a look.  Then he said, "Really, this is just a vehicle for cheese, so you can layer it however you want."  We really are true, cheese-loving Sconnies.  :-)

If you're looking for a down home, tasty, lasagna, I recommend my mom's recipe.  Grab a bottle (or two) of your favorite red and some friends, and get cooking!

Mom's Lasagna
(my mom's recipe!)
Makes 10-12 large servings

Sauce
2 lb. lean ground beef
1 medium onion, chopped
1 tsp. garlic powder (or fresh minced garlic equivalent)
1 tsp. ground oregano
1 tsp. dried basil
3 cups tomato juice
2 12-oz. cans tomato paste
1/4 cup brown sugar
Salt & pepper to taste

1 lb. lasagna noodles (I'm lazy and buy the oven-ready kind)
1 15 oz. carton ricotta cheese
8 - 12 oz. mozzarella cheese, to your cheesiness preference!
Parmesan cheese, to top off

To make the sauce:
Brown ground beef and onion. Drain if necessary.  Add remaining sauce ingredients and simmer for 30 minutes (to meld flavors).

To assemble:
In a 9x13 pan (or larger), first put in some sauce in the bottom.  Then layer noodles, sauce, ricotta and mozzarella cheeses.  Continue layering at your discretion.  With last layer of noodles, top off with remaining sauce and mozzarella and parmesan cheeses.

Bake at 350 degrees for about 35 minutes or until golden and bubbly.

Enjoy!