I had intended on making these for Valentine's Day. But there are so many sweets around the office that day, I thought I'd wait. It certainly wasn't because I got lazy or anything. Um....yeah.
Of course I decided to make these late at night because
that's how I function. They came together quickly, and it's always fun
to assemble treats like this!
The recipe mentions using a small cookie scoop so the
cakes are the same size and shape. I don't own such a contraption, so I
figured I'd pipe them to attempt to achieve the same effect. (In our
apartment, when in doubt, pipe it!)
I wasn't quite prepared for how many cakes the recipe makes, so I ended
up using every sheet-pan-like-thing I had, including a pizza pan, and
every flat space available (which isn't much, by the way).
The results were tasty, and my coworkers are enjoyed them immensely. I may have spotted one of the finance guys coming back for thirds. :-)
This weekend we were cat-sitting for our neighbors, so I left a little baggy of whoopie pies for our neighbors, to welcome them home. I later found out the cats had completely shredded the bag to get at the whoopie pies. So, apparently, kitties like them too...
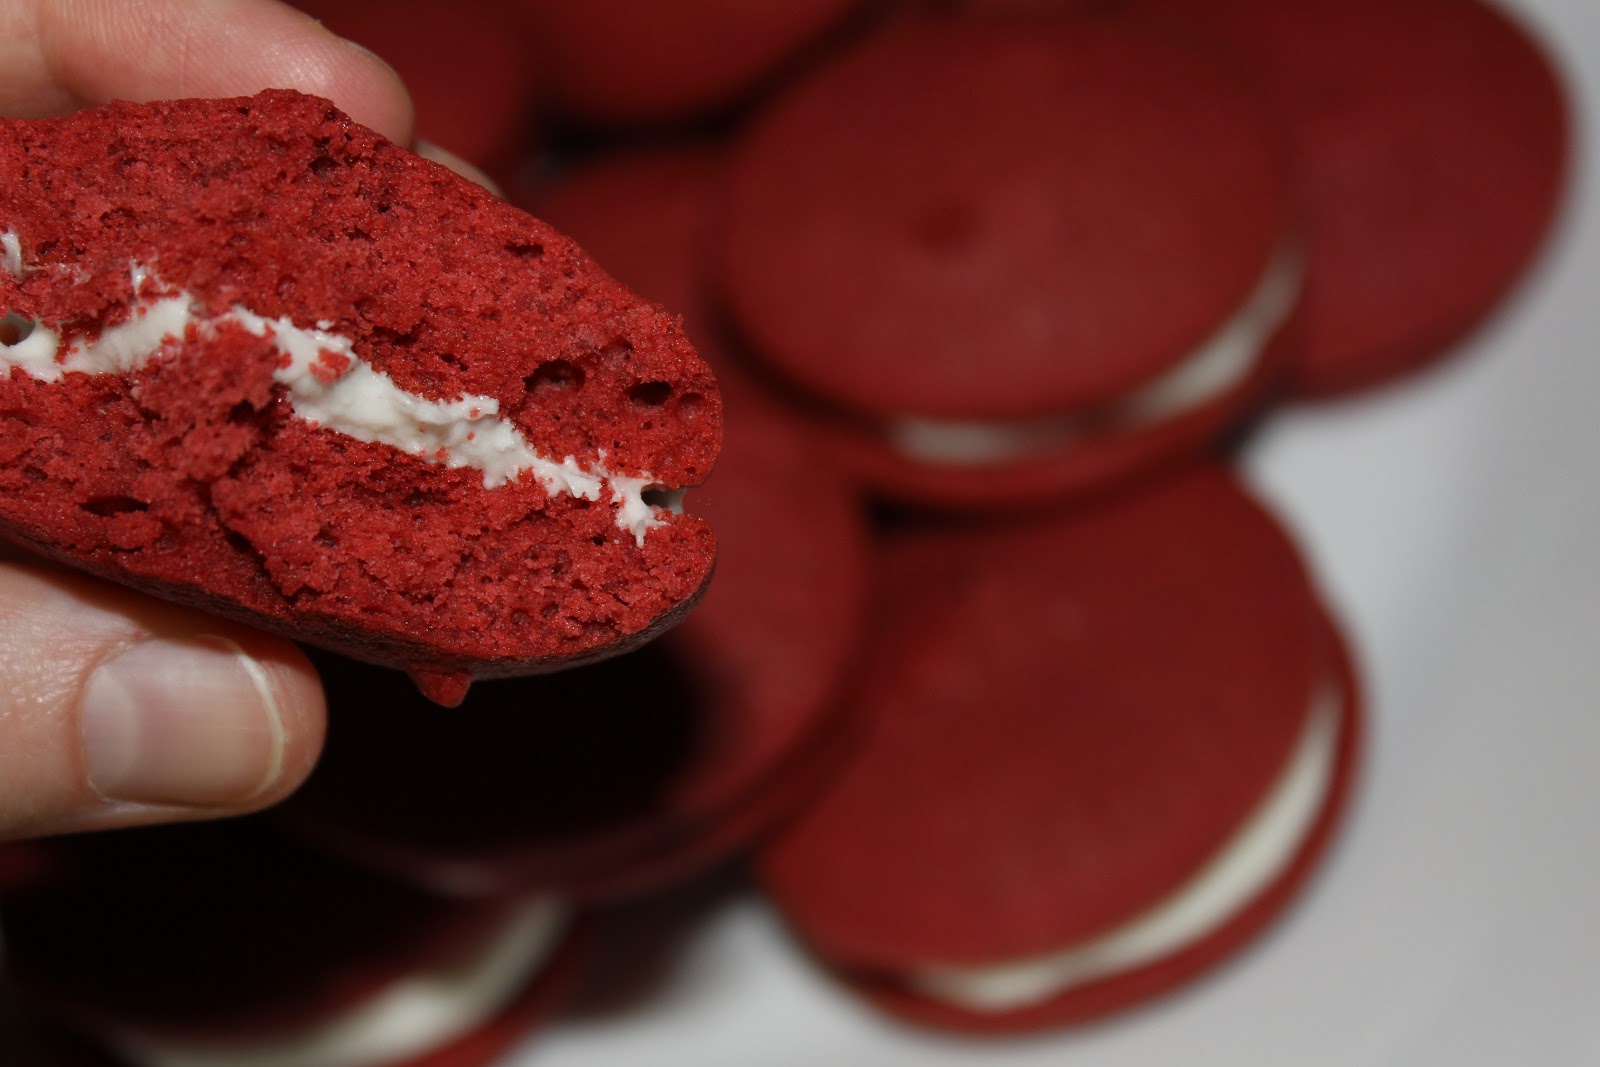
I
think that this recipe is a great base, and a lot of fun could be had
with some slight tweaks. I'd love to play around with the filling a bit
more as it's a bit sweet for me (did I really just say that?) Perhaps a
little cinnamon in the filling? Or some orange zest to brighten them
up a bit? If you find a fun combination, let me know!
Red Velvet Whoopie Pies
(from Brown Eyed Baker)
Makes 24 - 30 whoopie pies
Cakes:
3 cups all-purpose flour
1/3 cup cocoa powder
1 teaspoon baking powder
½ teaspoon baking soda
½ teaspoon salt
½ cup unsalted butter, at room temperature
½ cup vegetable shortening
½ cup light brown sugar
1 cup granulated sugar
2 eggs
2 teaspoons vanilla extract
3 teaspoons red food coloring
1 cup buttermilk (or 1 cup of milk with 1 Tbsp lemon juice)
Filling:
4 ounces cream cheese, at room temperature
4 tablespoons unsalted butter, at room temperature
3½ cups powdered sugar
1 teaspoon vanilla extract
Position a rack in the center of the oven and preheat the oven to 350 degrees F. Line two baking sheets with parchment paper; set aside.
Whisk together the flour, cocoa powder, baking powder, baking soda, and salt in a medium bowl; set aside.
In the bowl of a stand mixer with a paddle attachment, beat together the butter, shortening and both sugars on low speed until just combined. Increase the speed to medium and beat until fluffy and smooth, about 5 minutes. Add the eggs one at a time, beating well after each addition. Add the vanilla and the red food coloring and beat until just blended.
Add half of the flour mixture and half of the buttermilk to the batter and beat on low until just incorporated. Scrape down the sides of the bowl. Add the remaining flour mixture and remaining ½ cup buttermilk and beat until completely combined.
Using a spoon or pipe from a Ziploc bag, drop a tablespoon of batter onto one of the prepared baking sheets and repeat, spacing them at least 2 inches apart. Bake one sheet at a time for about 10 minutes each, or until the cakes spring back when pressed gently. Remove the baking sheet from the oven and let the cakes cool on the sheet for about 5 minutes before transferring them to a rack to cool completely.
While the cakes are cooling, prepare the filling. In the bowl of a stand mixer with the paddle attachment, beat together the cream cheese and butter on medium speed. Add the sugar and beat on low speed until combined. Add the vanilla and increase the speed to medium-high; beat until creamy and smooth, about 4 minutes.
To assemble: Pipe filling on flat side of a cake and top with another cake, flat side down. Repeat with the rest of the cakes and filling.
Storing: Assembled whoopie pies can be stored in an airtight container for up to 3 days. If you need to stack layers, place a piece of wax paper between layers.
Enjoy!
Because, sometimes, a cookie is just what you need. In the spirit of comfort food, join me on my culinary quest for awesome eatables!
Showing posts with label red velvet. Show all posts
Wednesday, February 20, 2013
Sunday, December 18, 2011
Red Velvet Cookie with a Cream Cheese Drizzle
Ah, the holidays. What a perfect excuse to go on a baking frenzy and it's socially acceptable and not a personal affront to any health nuts. (Personally, I'm all about healthy food too... but wonderful sweet treats are in a category all their own.) I had grand plans (even possible delusions of grandeur) for my holiday baking this year as I love to bring in treats as my gifts to coworkers and mail them to family and friends. I spotted a Red Velvet Cookie recipe that used a cake mix, and although I like to make stuff from scratch, I figured one cookie with some "assistance" out of the bazillion I had planned was acceptable!
After baking these, and tasting them, I thought they were tasty but a bit dry. Hm, what to do. Frosting would be great, but they're plenty sweet already with that cake mix. What goes with Red Velvet? Cream cheese! Okay, a cream cheese glaze with a lessened amount of sugar so the cream cheese tang comes through and is reminiscent of the real cake. I whipped it up, and drizzled it on through my "pastry bag" of a Ziploc bag.
The boyfriend's verdict? "The glaze really pulls it all together." Awesome!
Red Velvet Cookies with a Cream Cheese Glaze
(adapted from WhipperBerry)
1 box of Red Velvet cake mix
1 cup of all-purpose flour
2 sticks of softened butter
1 egg
2 cups of white chocolate chips
Preheat oven to 350 degrees. In a mixing bowl, add butter and mix until soft and fluffy. Slowly add cake mix and flour. Once combined, add egg and mix completely. Add white chocolate chips, and mix for a minute or so until well combined. Form dough into one inch balls, and place into the oven for 8-10 minutes.
Cream Cheese Glaze
(adapted from Epicurious)
2 oz. cream cheese, softened
2/3 cup powdered sugar (or to taste)
2 Tbsp butter, softened
1/4 tsp. vanilla extract
Combine cream cheese, powdered sugar, butter, and vanilla in a small bowl. Using electric mixer, beat until smooth. Spoon glaze into Ziploc bag, cut off tip, and drizzle over cookies. The glaze will firm up a bit after sitting for a few hours.
Enjoy!
After baking these, and tasting them, I thought they were tasty but a bit dry. Hm, what to do. Frosting would be great, but they're plenty sweet already with that cake mix. What goes with Red Velvet? Cream cheese! Okay, a cream cheese glaze with a lessened amount of sugar so the cream cheese tang comes through and is reminiscent of the real cake. I whipped it up, and drizzled it on through my "pastry bag" of a Ziploc bag.
The boyfriend's verdict? "The glaze really pulls it all together." Awesome!
Red Velvet Cookies with a Cream Cheese Glaze
(adapted from WhipperBerry)
1 box of Red Velvet cake mix
1 cup of all-purpose flour
2 sticks of softened butter
1 egg
2 cups of white chocolate chips
Preheat oven to 350 degrees. In a mixing bowl, add butter and mix until soft and fluffy. Slowly add cake mix and flour. Once combined, add egg and mix completely. Add white chocolate chips, and mix for a minute or so until well combined. Form dough into one inch balls, and place into the oven for 8-10 minutes.
Cream Cheese Glaze
(adapted from Epicurious)
2 oz. cream cheese, softened
2/3 cup powdered sugar (or to taste)
2 Tbsp butter, softened
1/4 tsp. vanilla extract
Combine cream cheese, powdered sugar, butter, and vanilla in a small bowl. Using electric mixer, beat until smooth. Spoon glaze into Ziploc bag, cut off tip, and drizzle over cookies. The glaze will firm up a bit after sitting for a few hours.
Enjoy!
Labels:
cookie,
cream cheese,
red velvet
Subscribe to:
Posts (Atom)
